Our house was decorated last weekend. That is perhaps too early, but this weekend were too stressful with lots of tasks around the kids, like sports and selling bread for a schooltrip.
I have decided this years theme for our christmas tree; Victorian gothic. The colour scheme is black, metals and tea stained white. Decorations will be the old style handcrafted ornaments with a gothic twist.
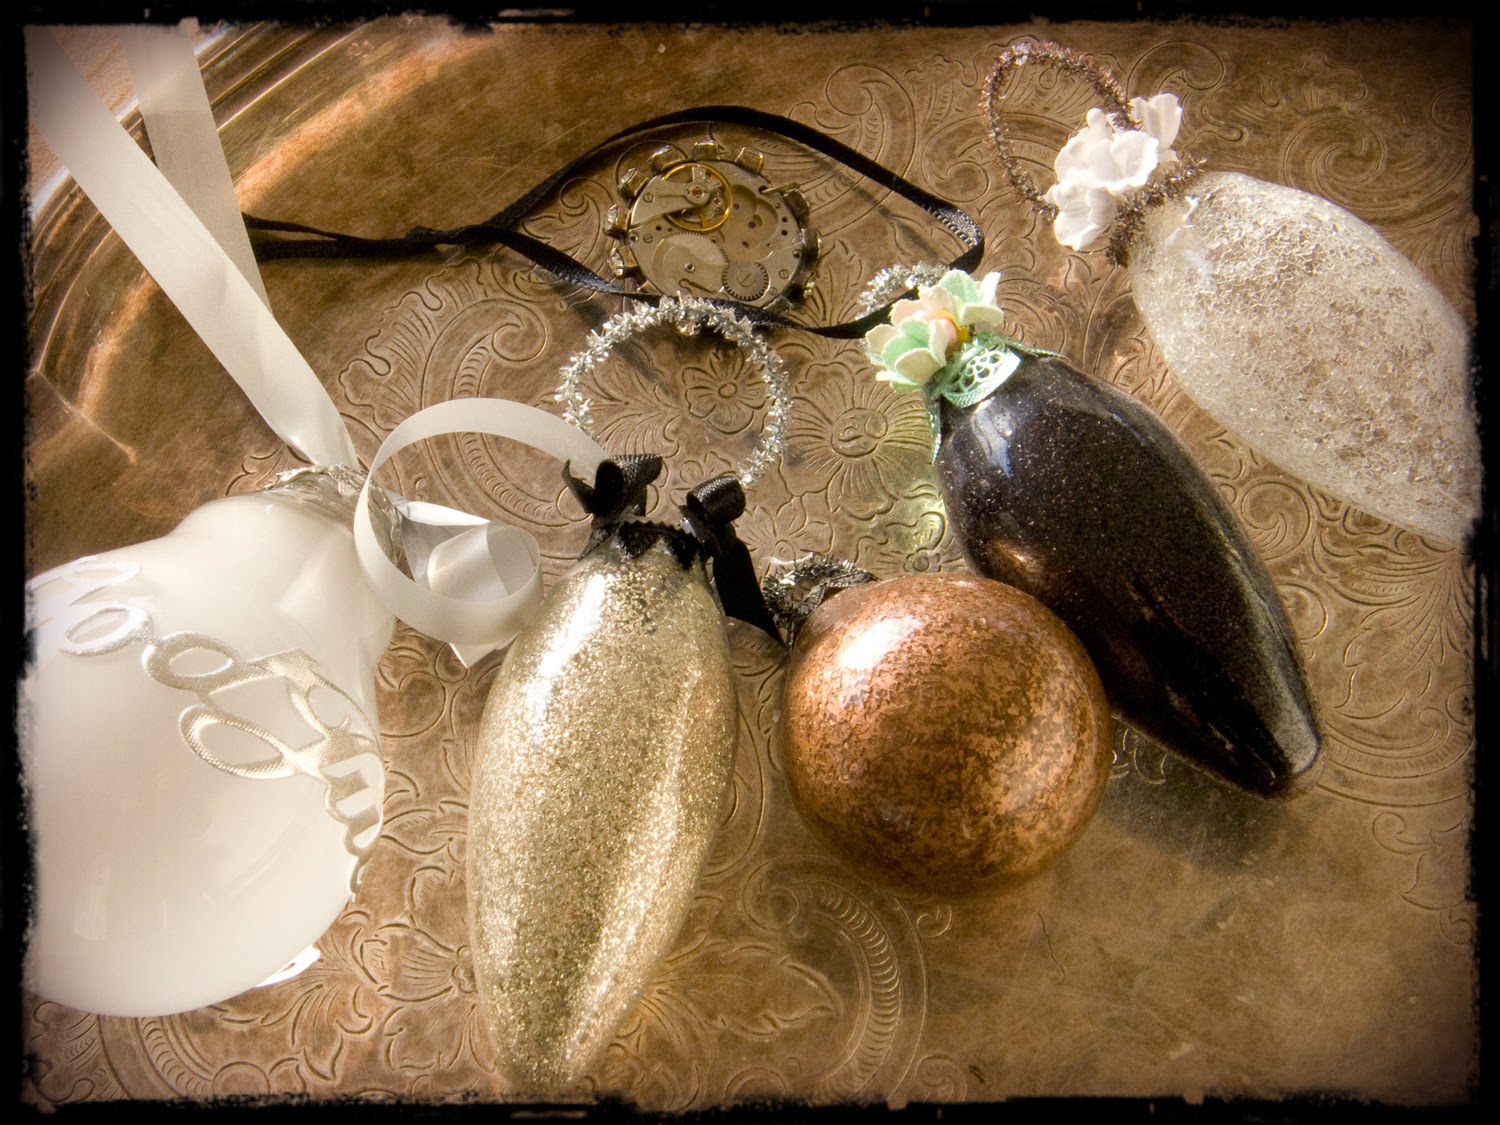
I wonder if the forms of the ornaments in the photo above is familiar to you? Did you guess it right? They are made of light bulbs. The old ones that are not allowed to be sold in stores anymore. I started to save the burned out ones and I got several from family and friends.
Maybe you have seen those hollowed out lightbulbs, there is lots of tutorials on youtube. I wanted to take it one step further and remove the aluminium bottom.
This is how you do the first steps to your own light bulb tree decorations:
Take a strong plier and remove the bottom soldered metal piece. Observe that you need gloves, safety glasses and a safe surface. And NO curious visitors around.
Next step is to move the bottom glass piece. With a steel wire I brake the glass in pieces and remove it with the pliers.
3rd step is to peel of the aluminium part down to the lightbulb. Use the pliers and be careful so you don't squeeze the light bulb to hard. Save the last piece as something to stabilise the fragile glass.
Then you need a dremel with a diamond round milling tool.
Mill around the inner glass, remove any wire first.
Here's a closer look of how it looks when you mill. Do it very carefully. I have braken a few bulbs by pressing too hard. The insert will loosen without any pressure, only with patience.
Once it is removed. You need to brake the inner glass into smaller pieces to get it out of the hole. This is also a very tricky step were the glass bulb can breake.
Shake carefully the glass and wire out of the bulb. Carefully remove the rest of the aluminium and scrape off the glue from the glass.
Use a emery cloth to smoothen the edges. A rough edge can be cause of cracking the glass.
There you have a plain glass bulb. Rinse it out with water and let it dry completely before the fun begins.
With a mini bottle brush tree, glitter and snow spray; I created a tiny dull winterlandscape. This is my first test and I failed a bit because I shouldn't have used spray laquer on top of the snow spray, it kind of melted and the bulb looks not as clear as I wish. The brush tree is a ordinary green that got a dust of black then some silver glitter and mica on top. The top of the bulb, holder for the ribbon is bought several years ago on a craft store and is spray painted black.

Here are a collection of different bulbs I have decorated. From top to bottom: Oval light bulb with clear glass glitter, glitter pipe cleaner with bronse alcohol ink and some paper flowers. Oval light bulb with black glass glitter, dresden lace and paper flowers. Small round lightbulb with clear glass glitter and copper spray paint. Oval light bulb with silver glitter, pipe cleaner, black dresden lace and black ribbon bows. Round white bulb with a merry christmas sticker. The round thingie is a part from an old watch with glued on rhinestones.
I got a little steampunked while doing this one. I dropped some watch parts and some are hangning in the spring thread from the top of the bulb.
Here's a close up of the watch part with the rhinestones, this is the flipside where I glued on a small brass decoration.
Even if it has taken lots of time doing these bulbs it has been a lot of fun. Sorry for my lack of proper english. I'm too tired to fix that now, it is passed bedtime long ago.