For you dear readers who has kept on reading my blog inspite of boring and delayed posts I will have a giveaway this post, to thank you all.
First I would like to share a tutorial with you of how to make candles.
I guess that you have already noticed that I'm interested in non-polluting issues? I don't like to waste things that can be reused at least once before throwing away leaving it in the recycling bin.
Make your own block candles.
What you need:
cotton yarn (for chrocheting, any colour will do)
empty beer cans or pringle tubes etc
adhesive putty
a stick, twig, pen (of that sort)
rests of candles, parraffine or stearine
a saucepan and an empty can

(one of my burning beer can candles)
The yarn is for the wick. You can choose to twine it double or you can braid it. I chosed to braid it this time because the double twined is a bit too thin (dependes on the thickness of the yarn of course). It takes time but it's worth a little patience. You can also buy premade candlewick but then you pay for something you propably already have.
Pinch a hole in the center of the bottom of the beer can and tuck the wick through the hole, maybe you need to use a chrocheting hook to pull the wick through (I did). Tie a knot at the bottom and secure the hole and knot with lots of putty.
Hold the wick straight and pull a stick through the braid or tie the braid around it. You need to keep the wick in the centre.
Melt your remnants from old candles but remove the coaled wick first. For a beer candle you need approx. 400 g of material. Heat water in the saucepan on the stove and put a can with stearine in the water to melt.
When everything is melted pour it in your mold (beer can) but leave a little.

As you can see on the photo above, I have used socks to isolate the can. This was an useless experiment. I wanted to prevent pipe forming during cooling but it didn't work.
After a couple of hours, a pipe is forming in the middle. It is neccessary to melt more stearine and to fill it up. If you don't, the wick won't longer be centered and instead, you have a hole in the middle.
It's important that you work on a sturdy surface like a kitchen bench the putty can leak hot stearine.
Leave the candle to cool over night and peel off the can. Don't throw aluminum in your ordinary waste bin. Metal and especially aluminum is very energy saving to recycle.
This is how one of my candles turned out (below). It is made of remnants from halloween candles.

Next tutorial is a glass jar candle and also the one I will share to one of my readers...
Use an old holder from a tea candle and press the hole open with a metal pin (or something). Pull the wick through and press the hole tight again with a plier. Glue the holder to the center of the bottom of a glass jar with hot glue.
Here's another tip I can give you: old tea light holders are made in aluminum but the wick holder is made of steel. If you put those in the recycling bin you need to separate the wick holder from the aluminum, otherwise the aluminum will follow the steel holder with the magnetic separator and end up as fumes in the air (not very good, right ?).
Ok, well. Center the wick in the same fashion as the beer candle and do the same procedure.
If you have some oilscents you like, you can add a few drops to the molten stearine before pouring it in you mold.

The giveaway
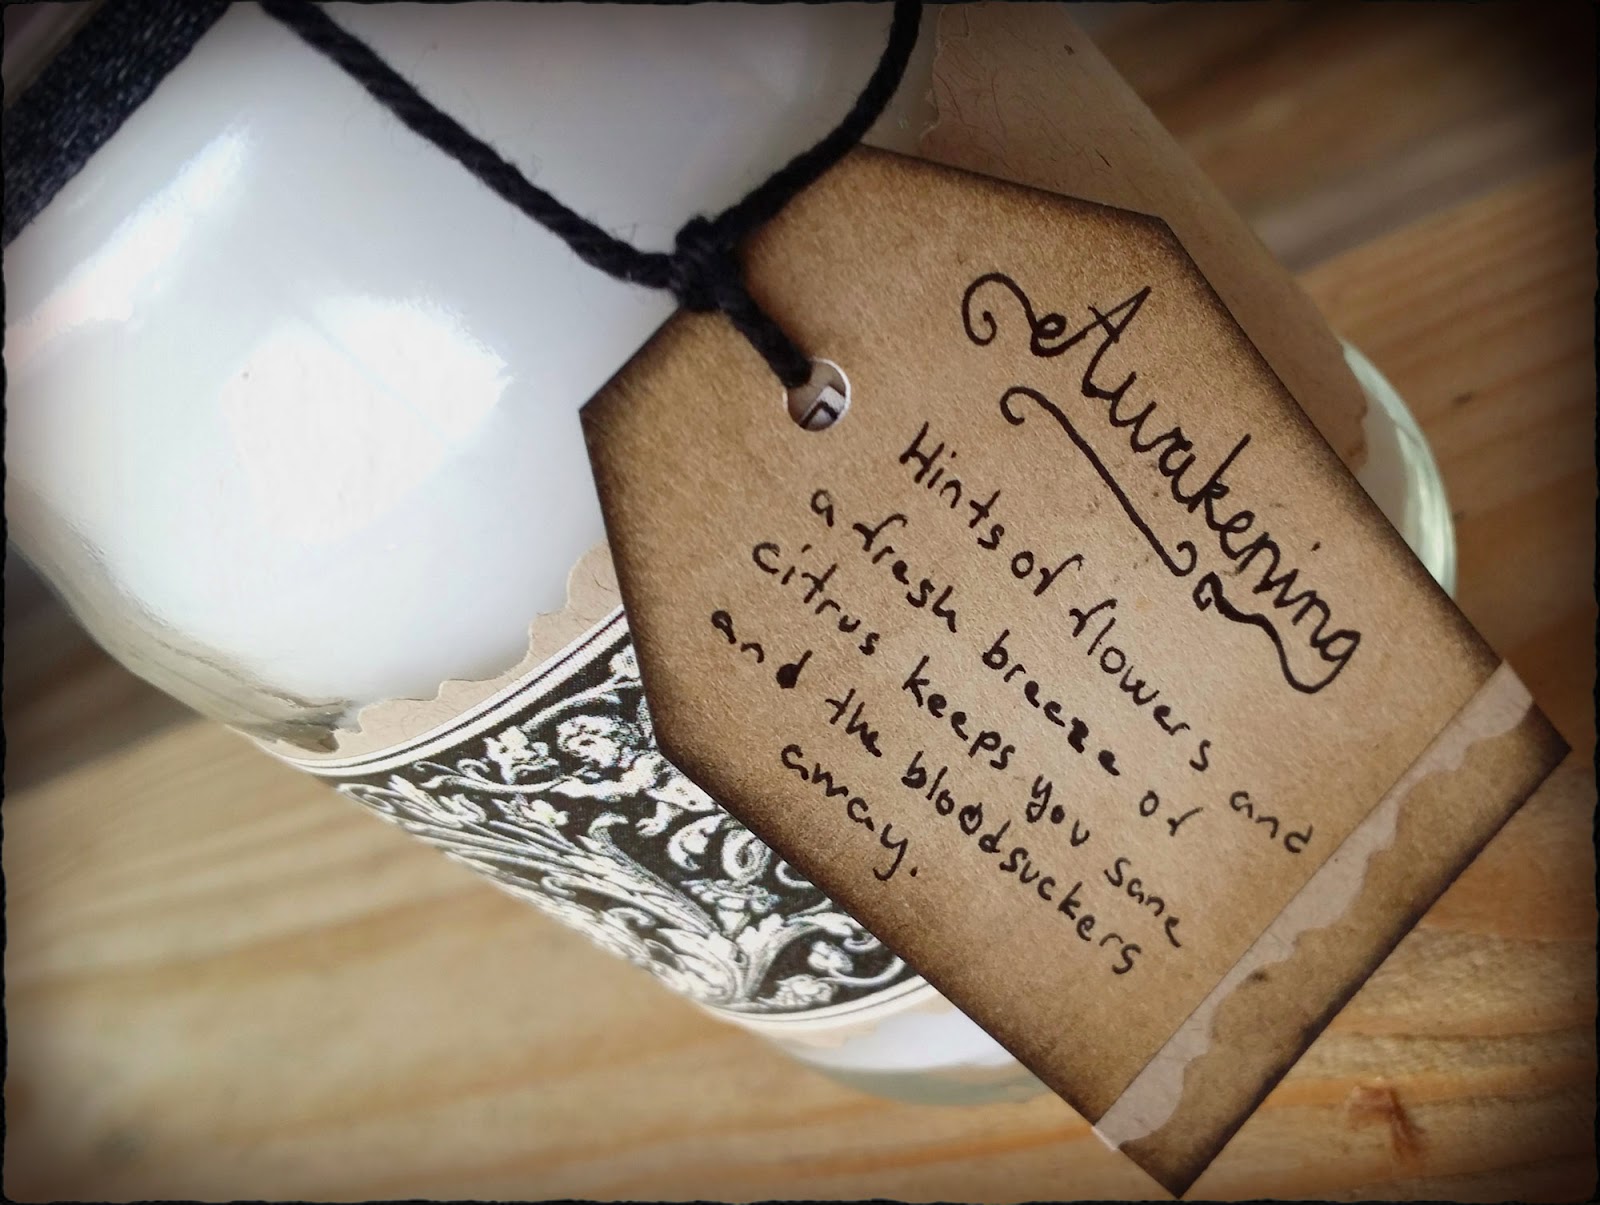
Voilá. Here it is my own recycled jar candle, offered for you as a give away. I embellished the jar with some prints and scraps.
The oil scent is all natural oils, citrus and ylang-ylang for example.

To join the giveaway you only have to leave a comment and tell me that your'e in. Leave your e-mail adress or tell me how to contact you in other ways.
Take care precious ones!!
The giveaway will be open 2,5 weeks from now, and it is worldwide of course :-)